
Making Mrs. Depew's 1950's Slip with Muslin
This summer has ignited my desires for all of the 50’s and 60’s dresses and swimwear. If I only I could take a time machine and go on an adventure to the past (but only for the fashion). As I am not in possession of a Tardis, I have decided to make a few 50’s and 60’s outfits for the summer. I chose to start with a 1950’s slip.
I used this slip pattern from Mrs Depew on Etsy. (Link: https://www.etsy.com/listing/177671714/vintage-sewing-pattern-1950s-full-slip?ref=yr_purchases) She does have a blog post that is supposed to help with mapping out this pattern, but honestly I didn’t find it super helpful. I still had so many questions.
As I was about to leave to go see my parents and I had my mom’s sewing machine, I decided to sew this slip together with hand stitching, which was truly very scary. My hand stitching has not really been that great, but mainly because I don’t have the patience to make super duper teeny tiny stitches…buuuut I really did try on this one. Bernadette Banner has some really good videos on hand stitching that I would highly recommend if you are looking into making your own hand stitched project.
Ok so to start with the beginning, this pattern was EXTREMELY different than any other pattern I’ve worked on before. It didn’t come with any real instructions per say, just a diagram, and some tape measures (that didn’t actually have any standard measurements).
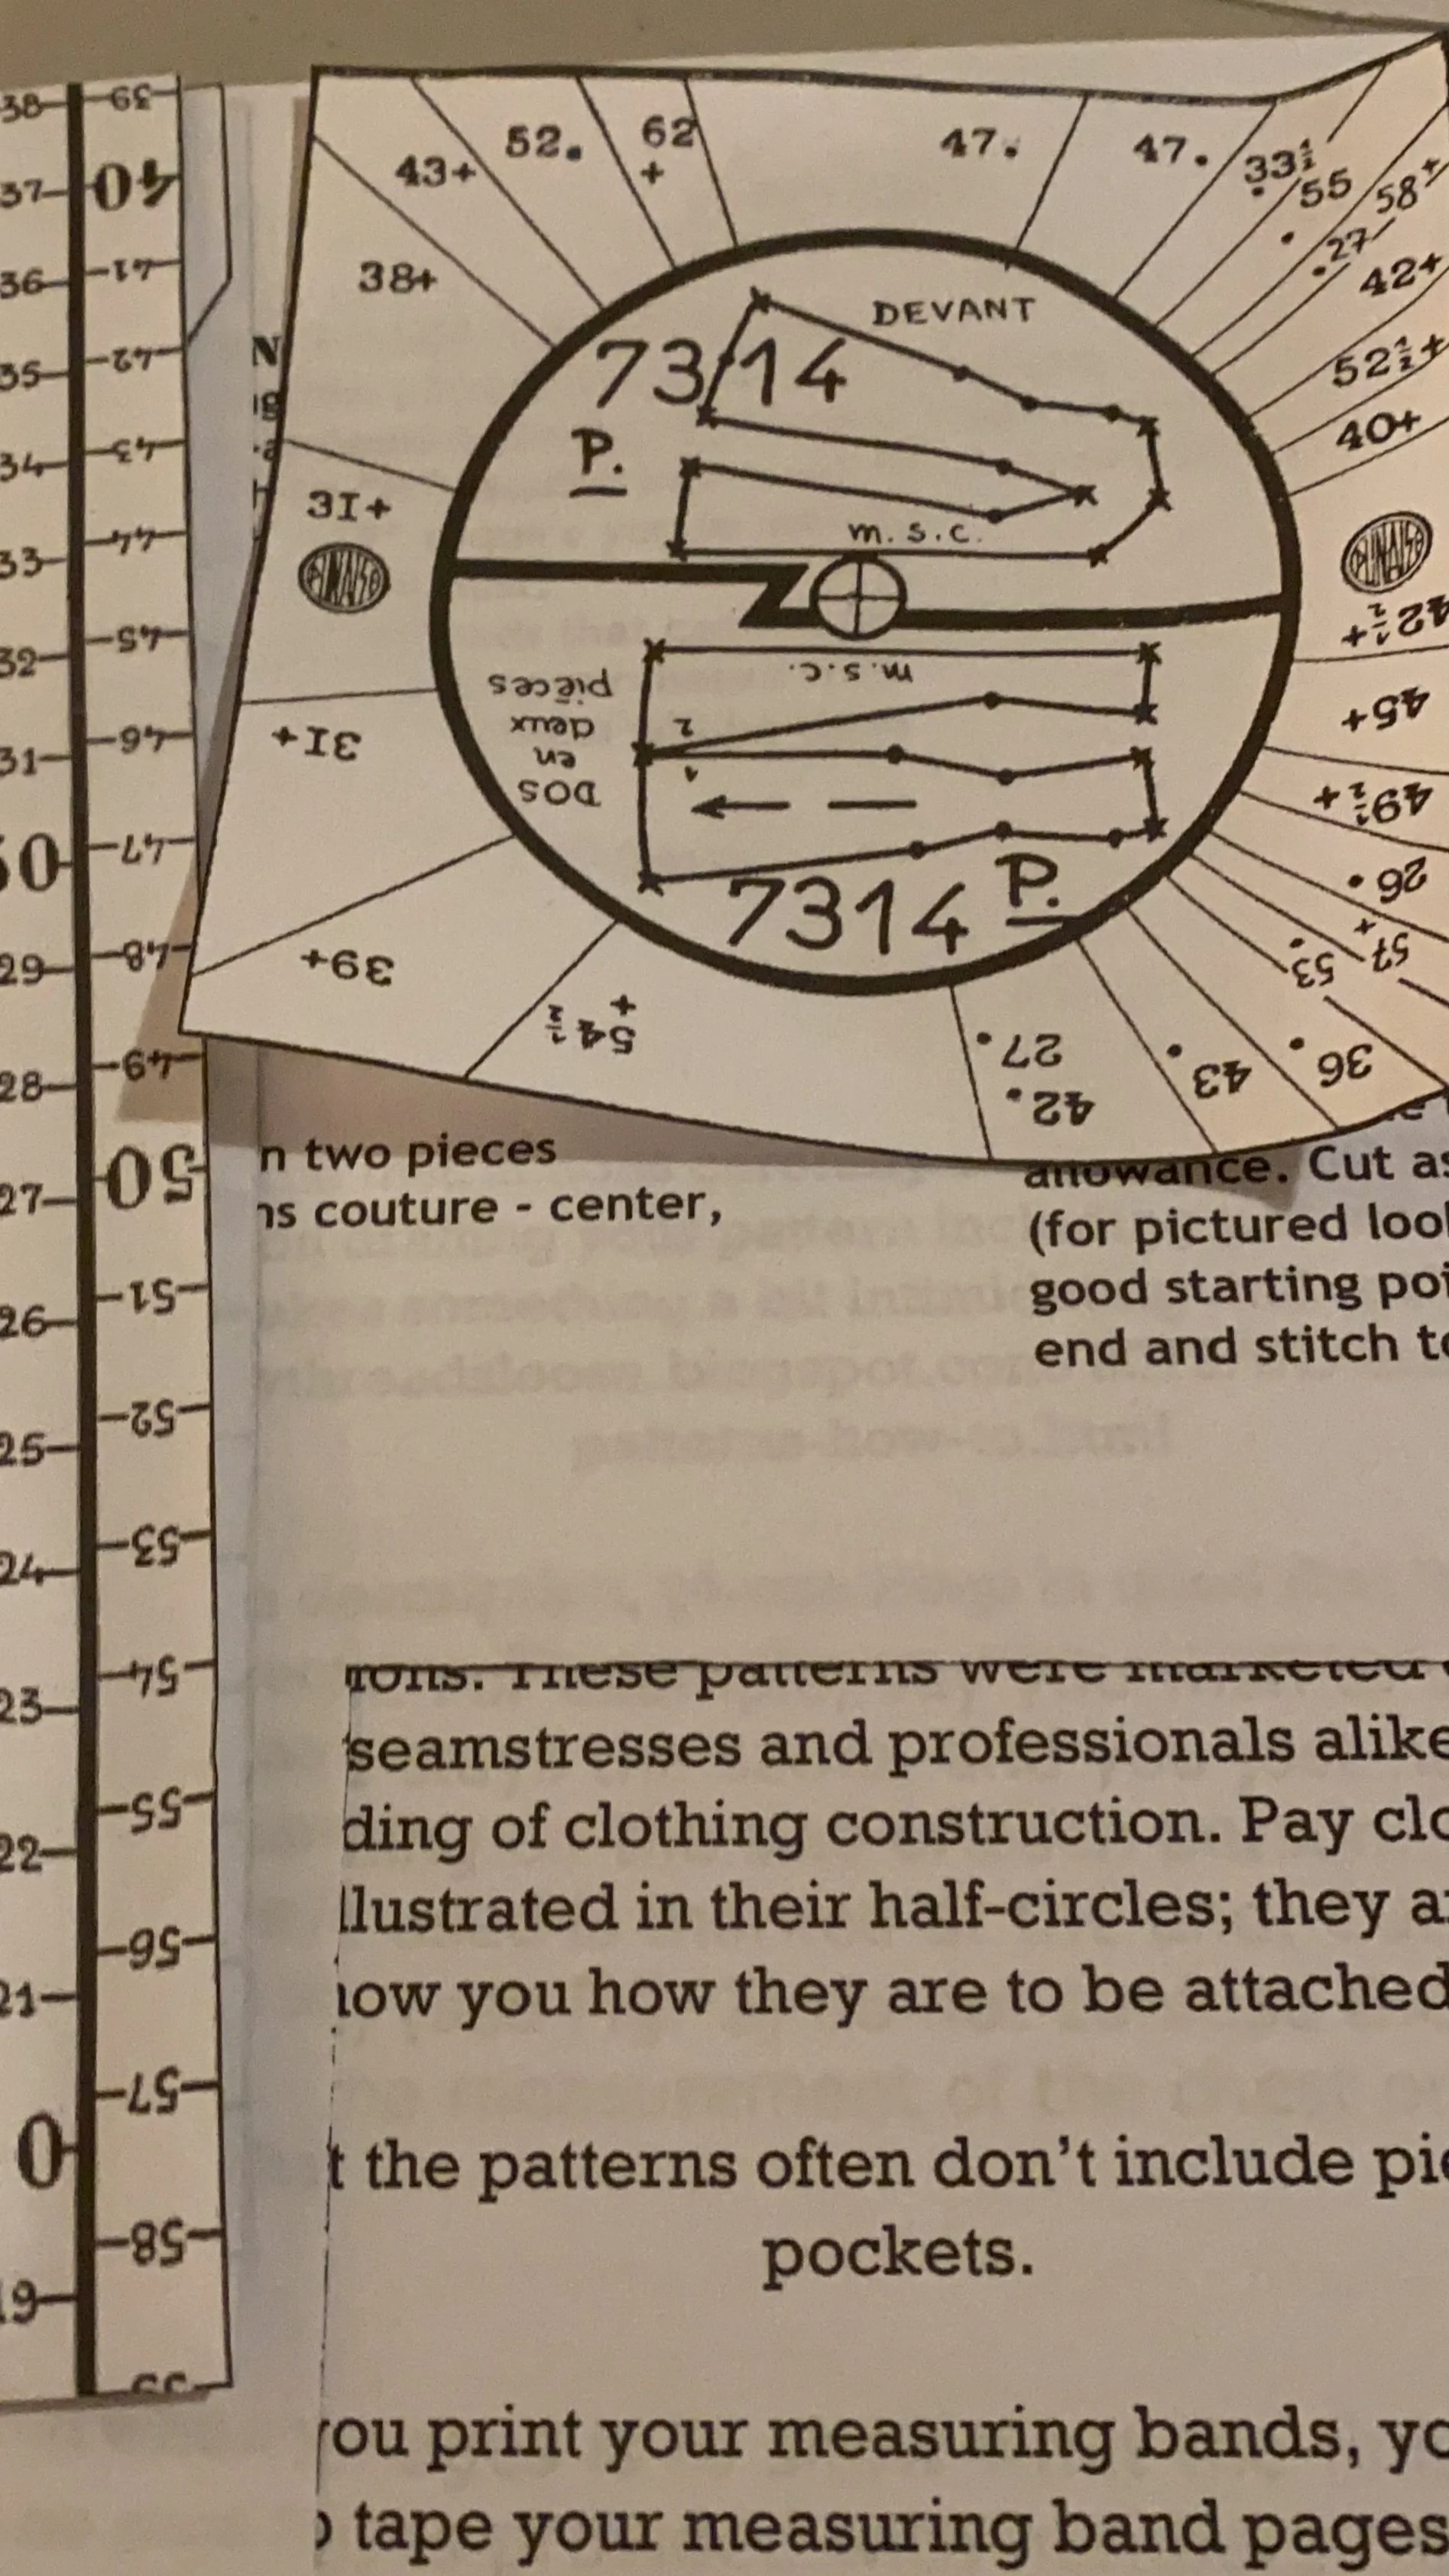
Step 1. Cut out square diagram from pattern instructions, cut two squares out of carboard that are slightly larger than the diagram, tape cardboard pieces together, tape diagram to the top of the cardboard square.
Step 2. Using your bust measurement in centimeters, cut out the tape measure that is the closest to your bust measurement. On the instructions, it says that the tape measures are supposed to be in cm measurements, but they aren’t so don’t bother verifying. Just use the tape measure that has your bust measurement (or closest to your bust measurement) on the top.
Step 3. Take wide enough paper, place the diagram along the edge of the paper so that the center line of the diagram was flush with the edge of the paper.
Step 4. Attach tape measure to the center of the diagram with a push pin so that you can still swivel the tape measure on the paper to map out the pattern.
Step 5. Starting on the left side of the diagram, position tape measure so that it lines up with the line above the first point. This indicated the angle at which the first dot needs to be plotted. Count the number provided away on the tape measure and mark the point. Then keep continuing as you complete the half circle. When there are two dots that need to be plotted between two angle lines, position the tape measure through the actual point on the diagram and plot it at the given numbered spaces away.
Step 6. After you are done with half of the pattern, flip the diagram to the other half circle and use a fresh sheet of paper and do the same plotting steps as in Step 5.
I went ahead and cut the paper pattern pieces. The diagrams give you very little information, so you really have to figure out which piece goes where and how many to cut for yourself. Even though I did make notes on these pieces it ended up not being correct.

Step 7: I washed and ironed the fabric. I am using bleached muslin for this slip. It isn’t the most flowy of fabrics, but this was just a practice round to learn how to execute this pattern. When I cut out the pattern pieces on the fabric, I realized that the width of the fabric wasn’t long enough to be able to cut out the front piece on a fold of equal pieces, so I had to cut out two pieces and then sew down the center seam of the front
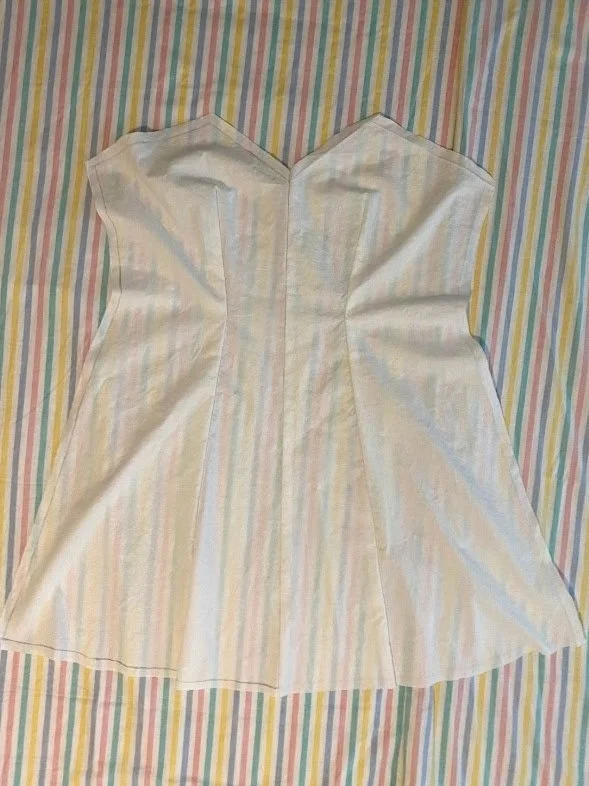
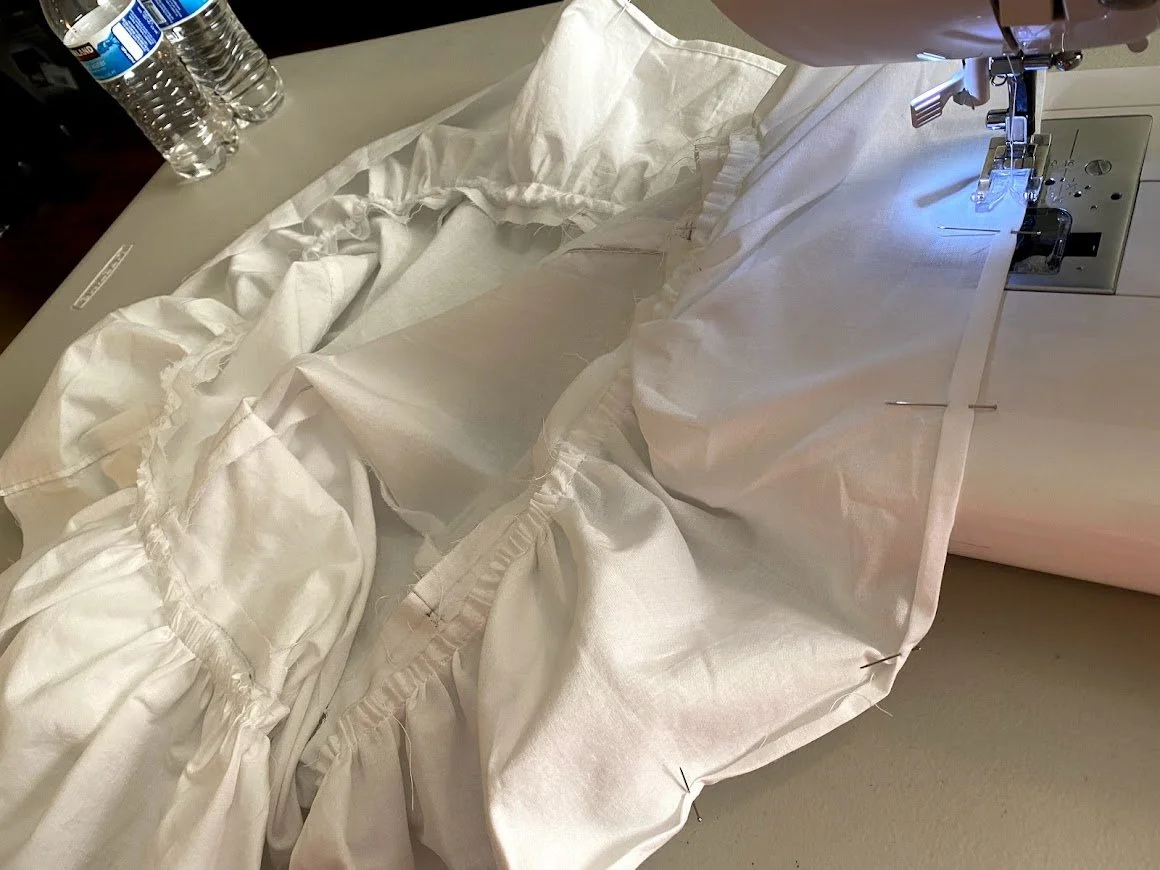
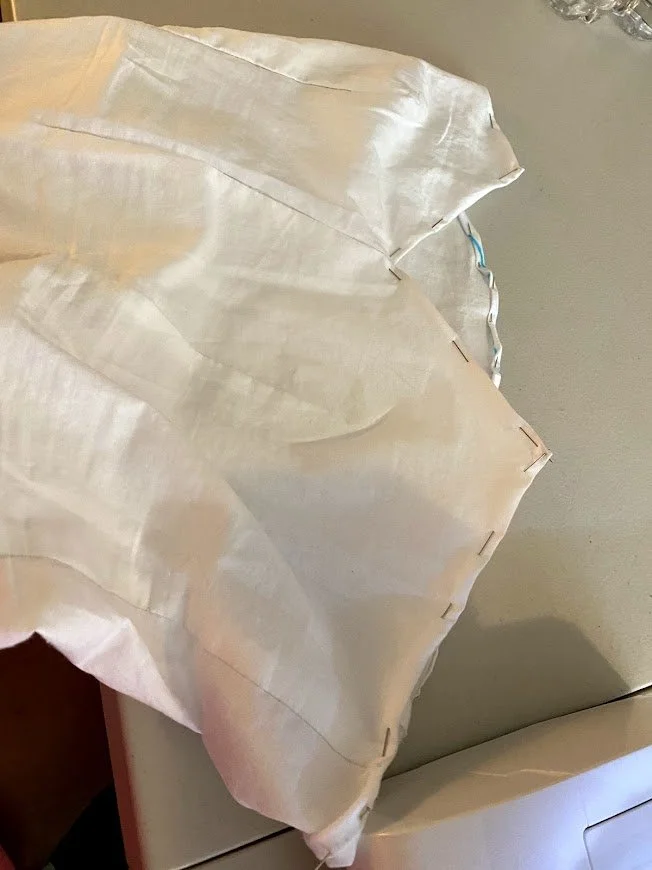
Step 8: I sewed up all of the seams for this slip by hand. Only the ruffle was hemmed and attached to the main slip by machine. I also did use the machine to hem the top of the slip and create the ribbons which were attached to the shoulders to be tied.
Take a look at the process in the video below. Enjoy!