
Baby/Toddler Quilt
This project started out with making quilts for my nieces. I started with watching videos by the Missouri Quilt Company and also tutorials by Melanie Ham on Youtube. Links to these videos will be at the end of this post. The quilts that I will be discussing were made as Christmas presents for my coworkers sons.
It all started when I was on one of my favorite websites www.spoonflower.com and saw the cutest whimsical prints by Katherine Quinn (link to her shop will be at the end of the post) and thought they would make such nice toddler quilts. I started to come up with ideas of what kind of pattern I would like to create. These quilts were going to be for children that were between the ages of 1-3, therefore it would need to be slightly bigger than the typical baby quilt.
I placed more order for fat quarters of the prints I liked and I purchased the solid color fabrics and the gingham fabrics from Hobby Lobby. Just in case there were any issues, I purchased 1.5 yards of each of the solid color and gingham fabrics. I was super excited when all of the fabrics were received.
First step: All of the fabrics were washed.

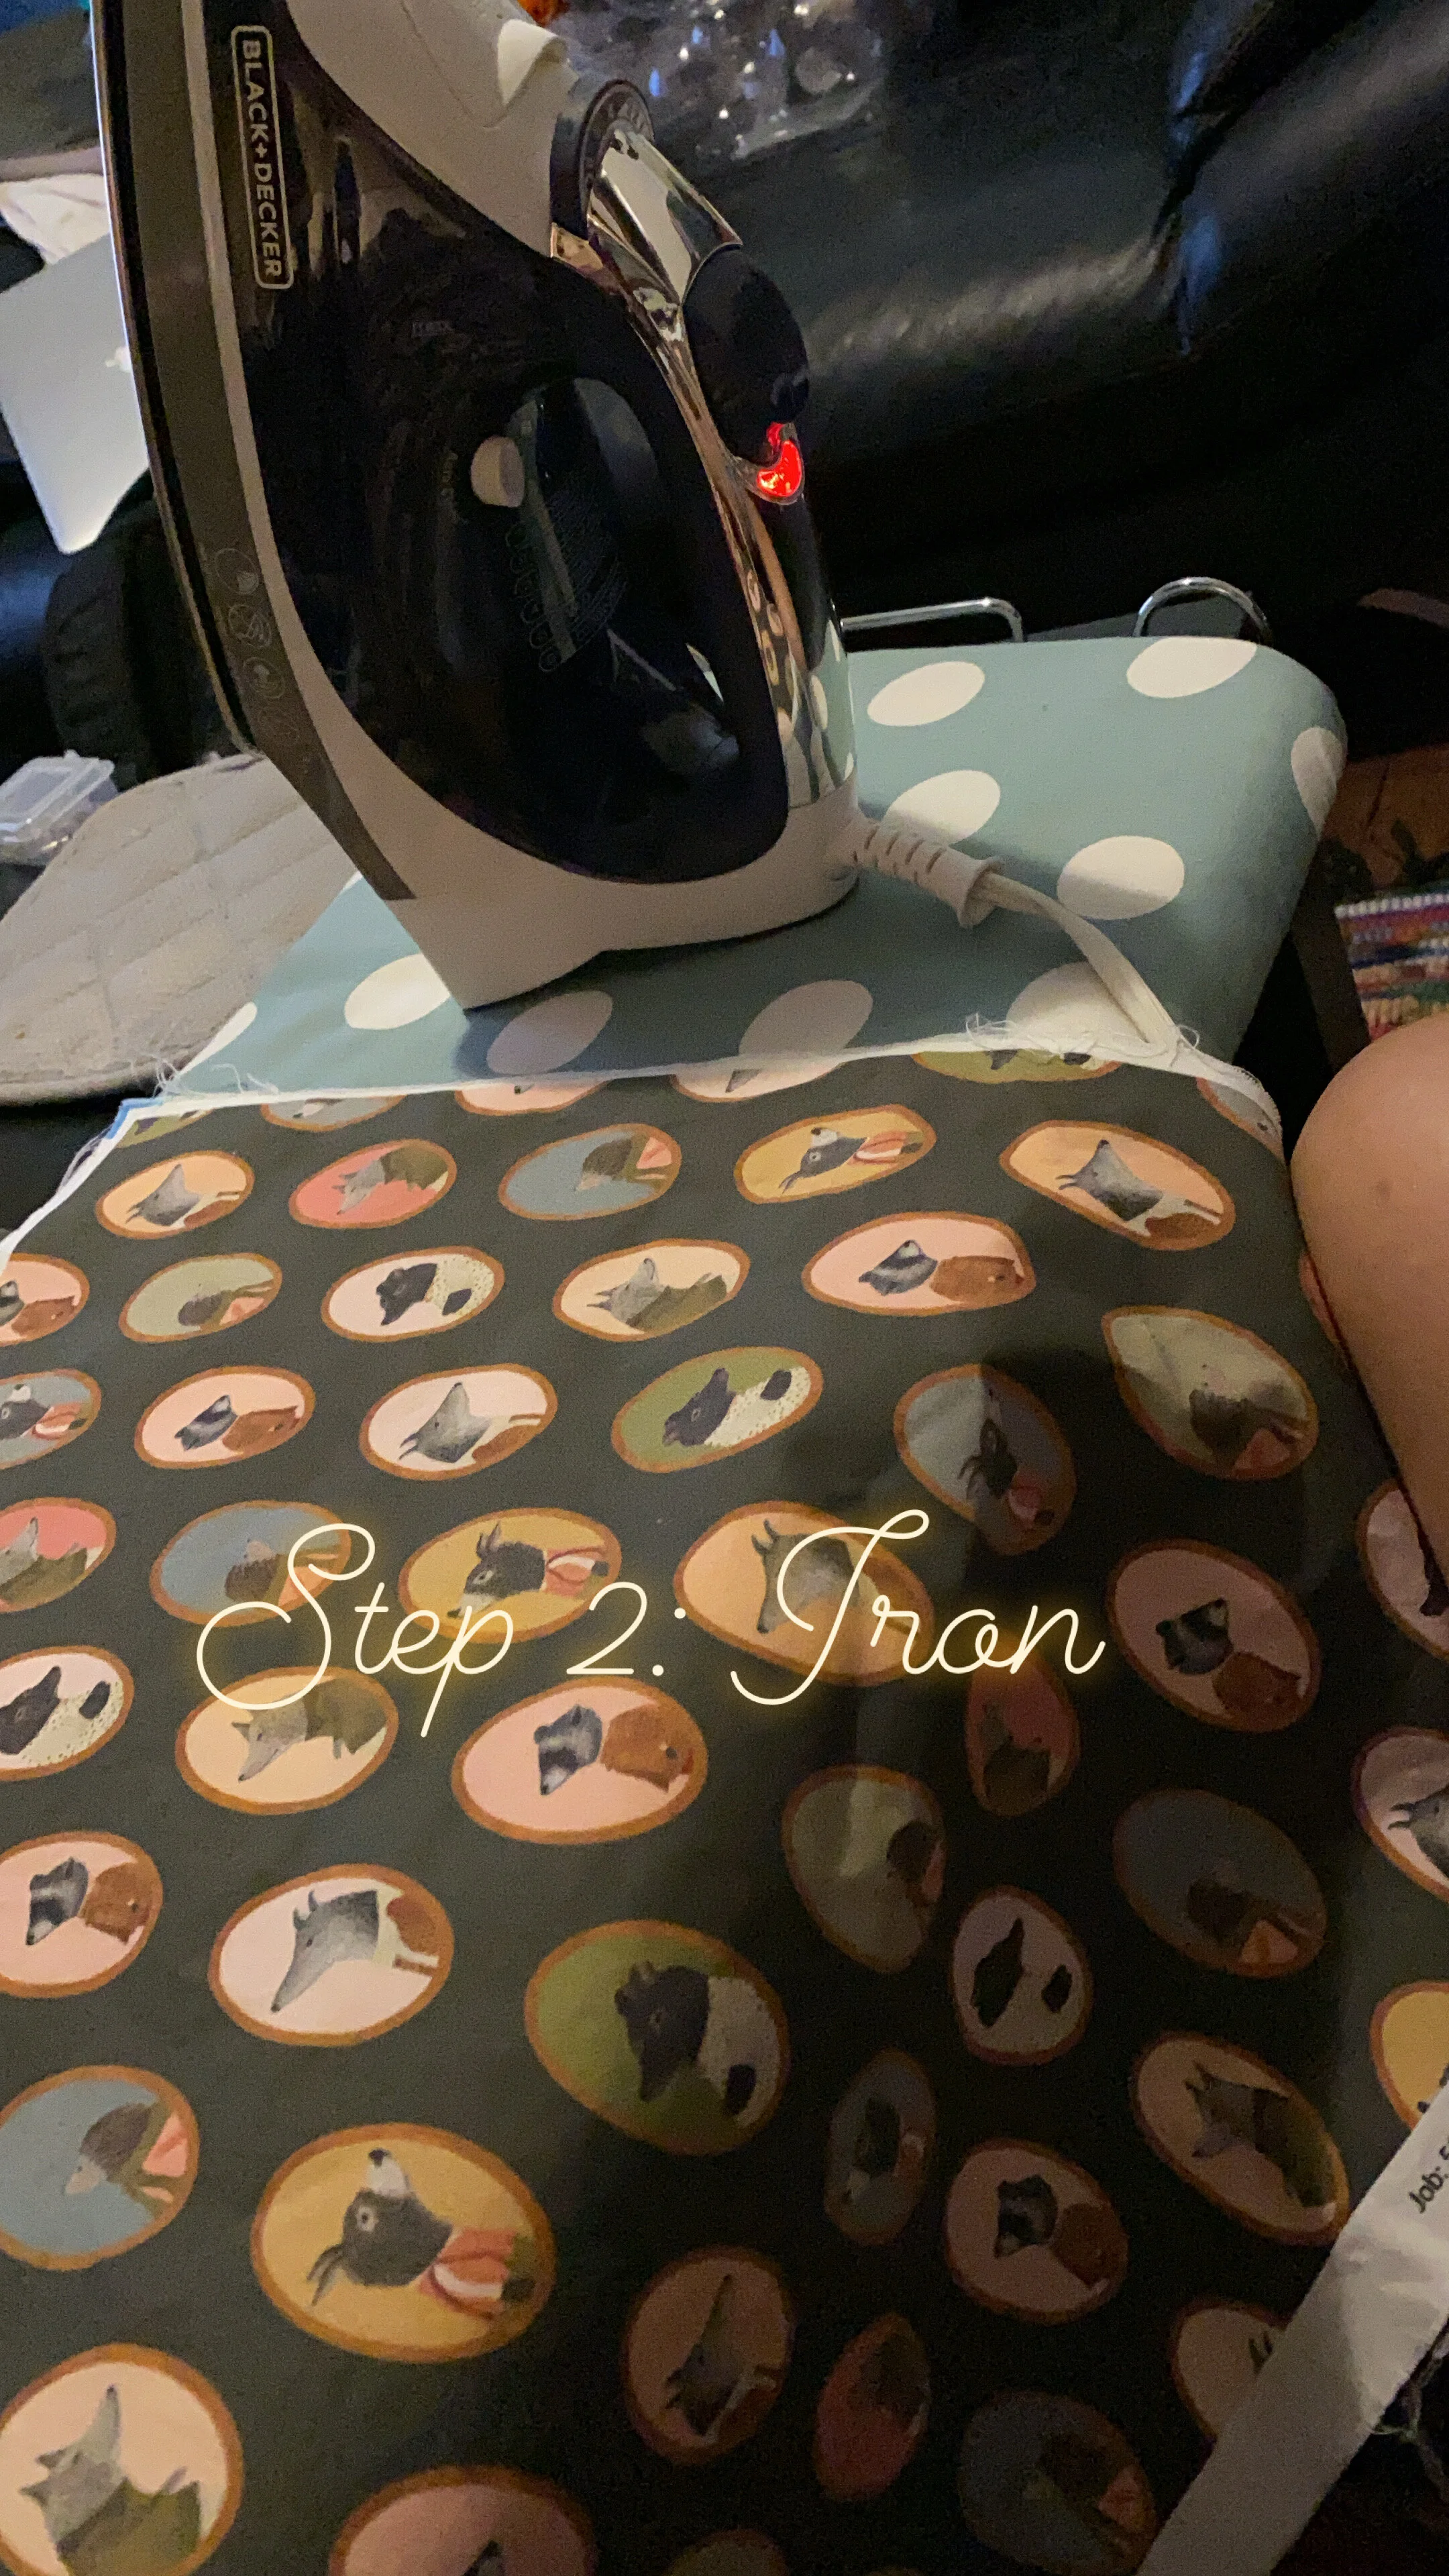
Second step: All of the fabrics were ironed
Third Step: I cut all of the fabrics into 5 inch squares. For the pattern I wanted 7 squares across the width and 8 squares down the length, therefore I needed 56 squares in total for each quilt.


Fourth Step: Arranged the pattern for quilt 1

Fifth Step: Arranged the pattern for quilt 2

Sixth Step: Took a break

Seventh Step: Made multiple bobbins for all the different colors of threads

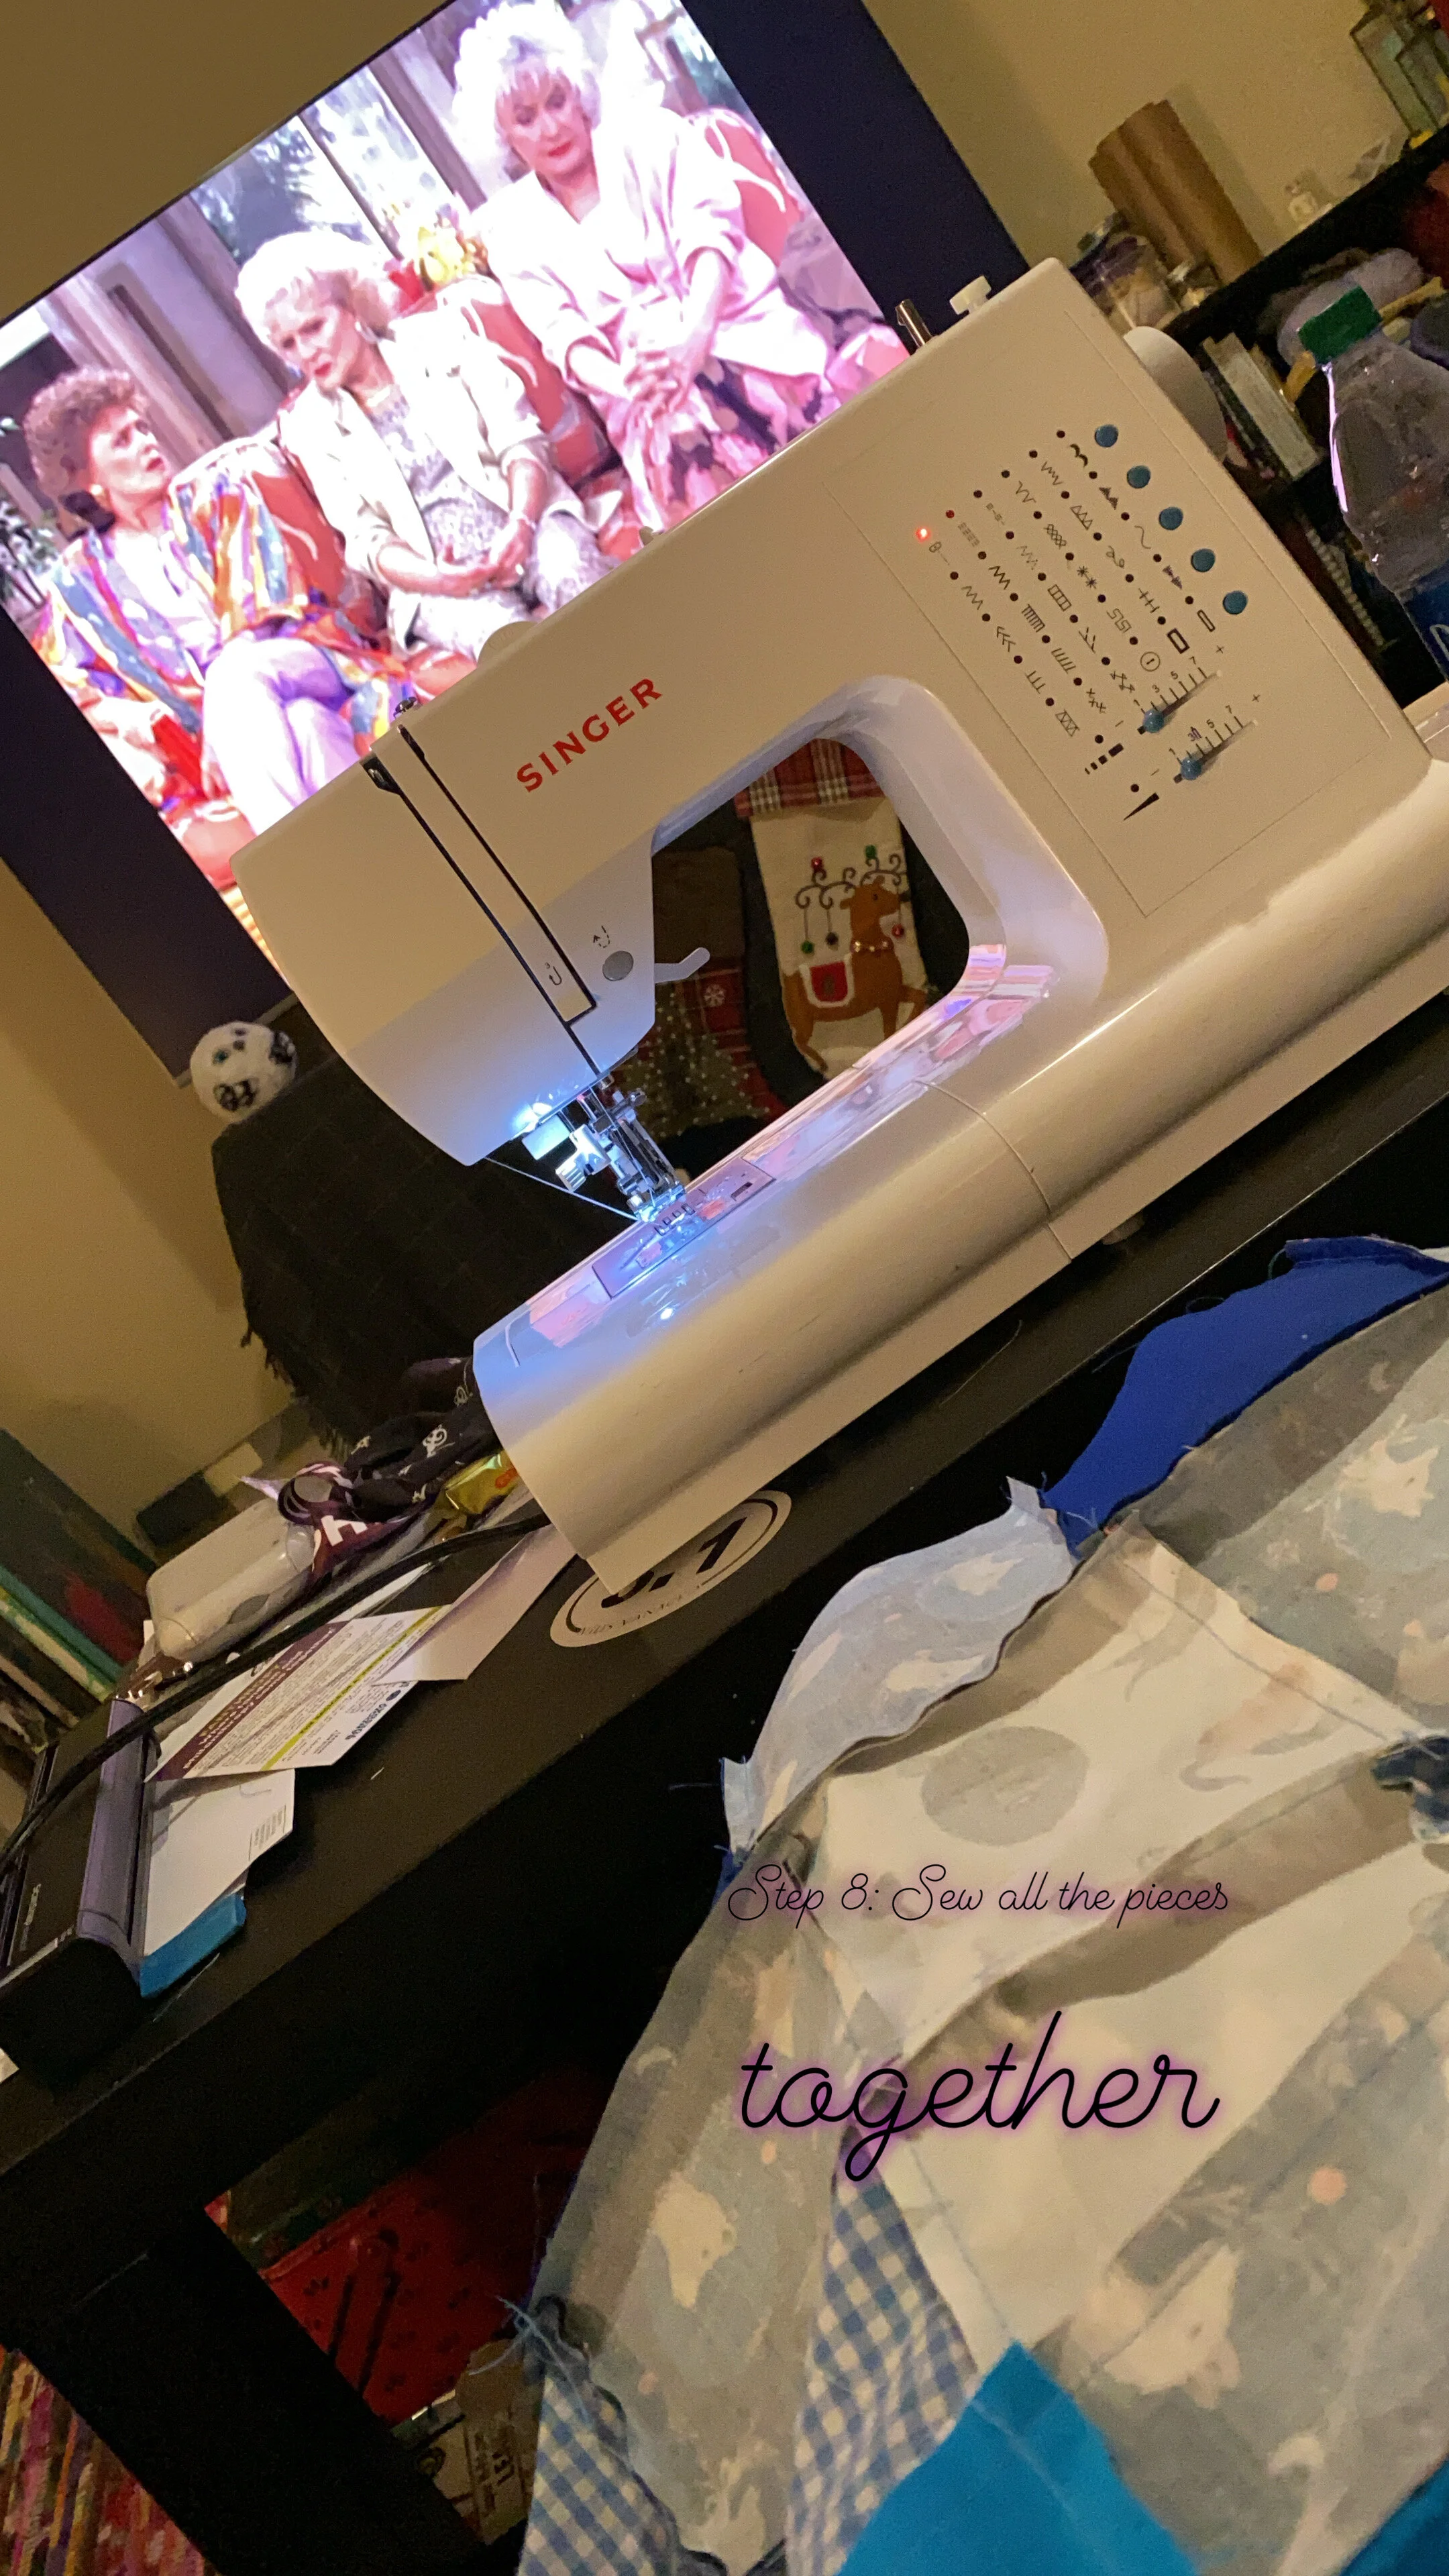
Eighth Step : Sewed all of the pieces together to form the face of the quilt.
Ninth Step:Then I sandwiched the quilt batting in between the top piece of the quilt and the minky fabric. Pinned and sewed everything together.
Tenth Step: With a rotary cutter, I cut off the edges to make sure that the corners are exactly 90 degree angles.

Eleventh Step: I embroidered my signature on both quilts.

Twelfth Step: I cut the binding pieces to 1.5 inch strips and sewed the strip to one side of the quilt to anchor it. The other side was folded under and then slip stitched by hand.

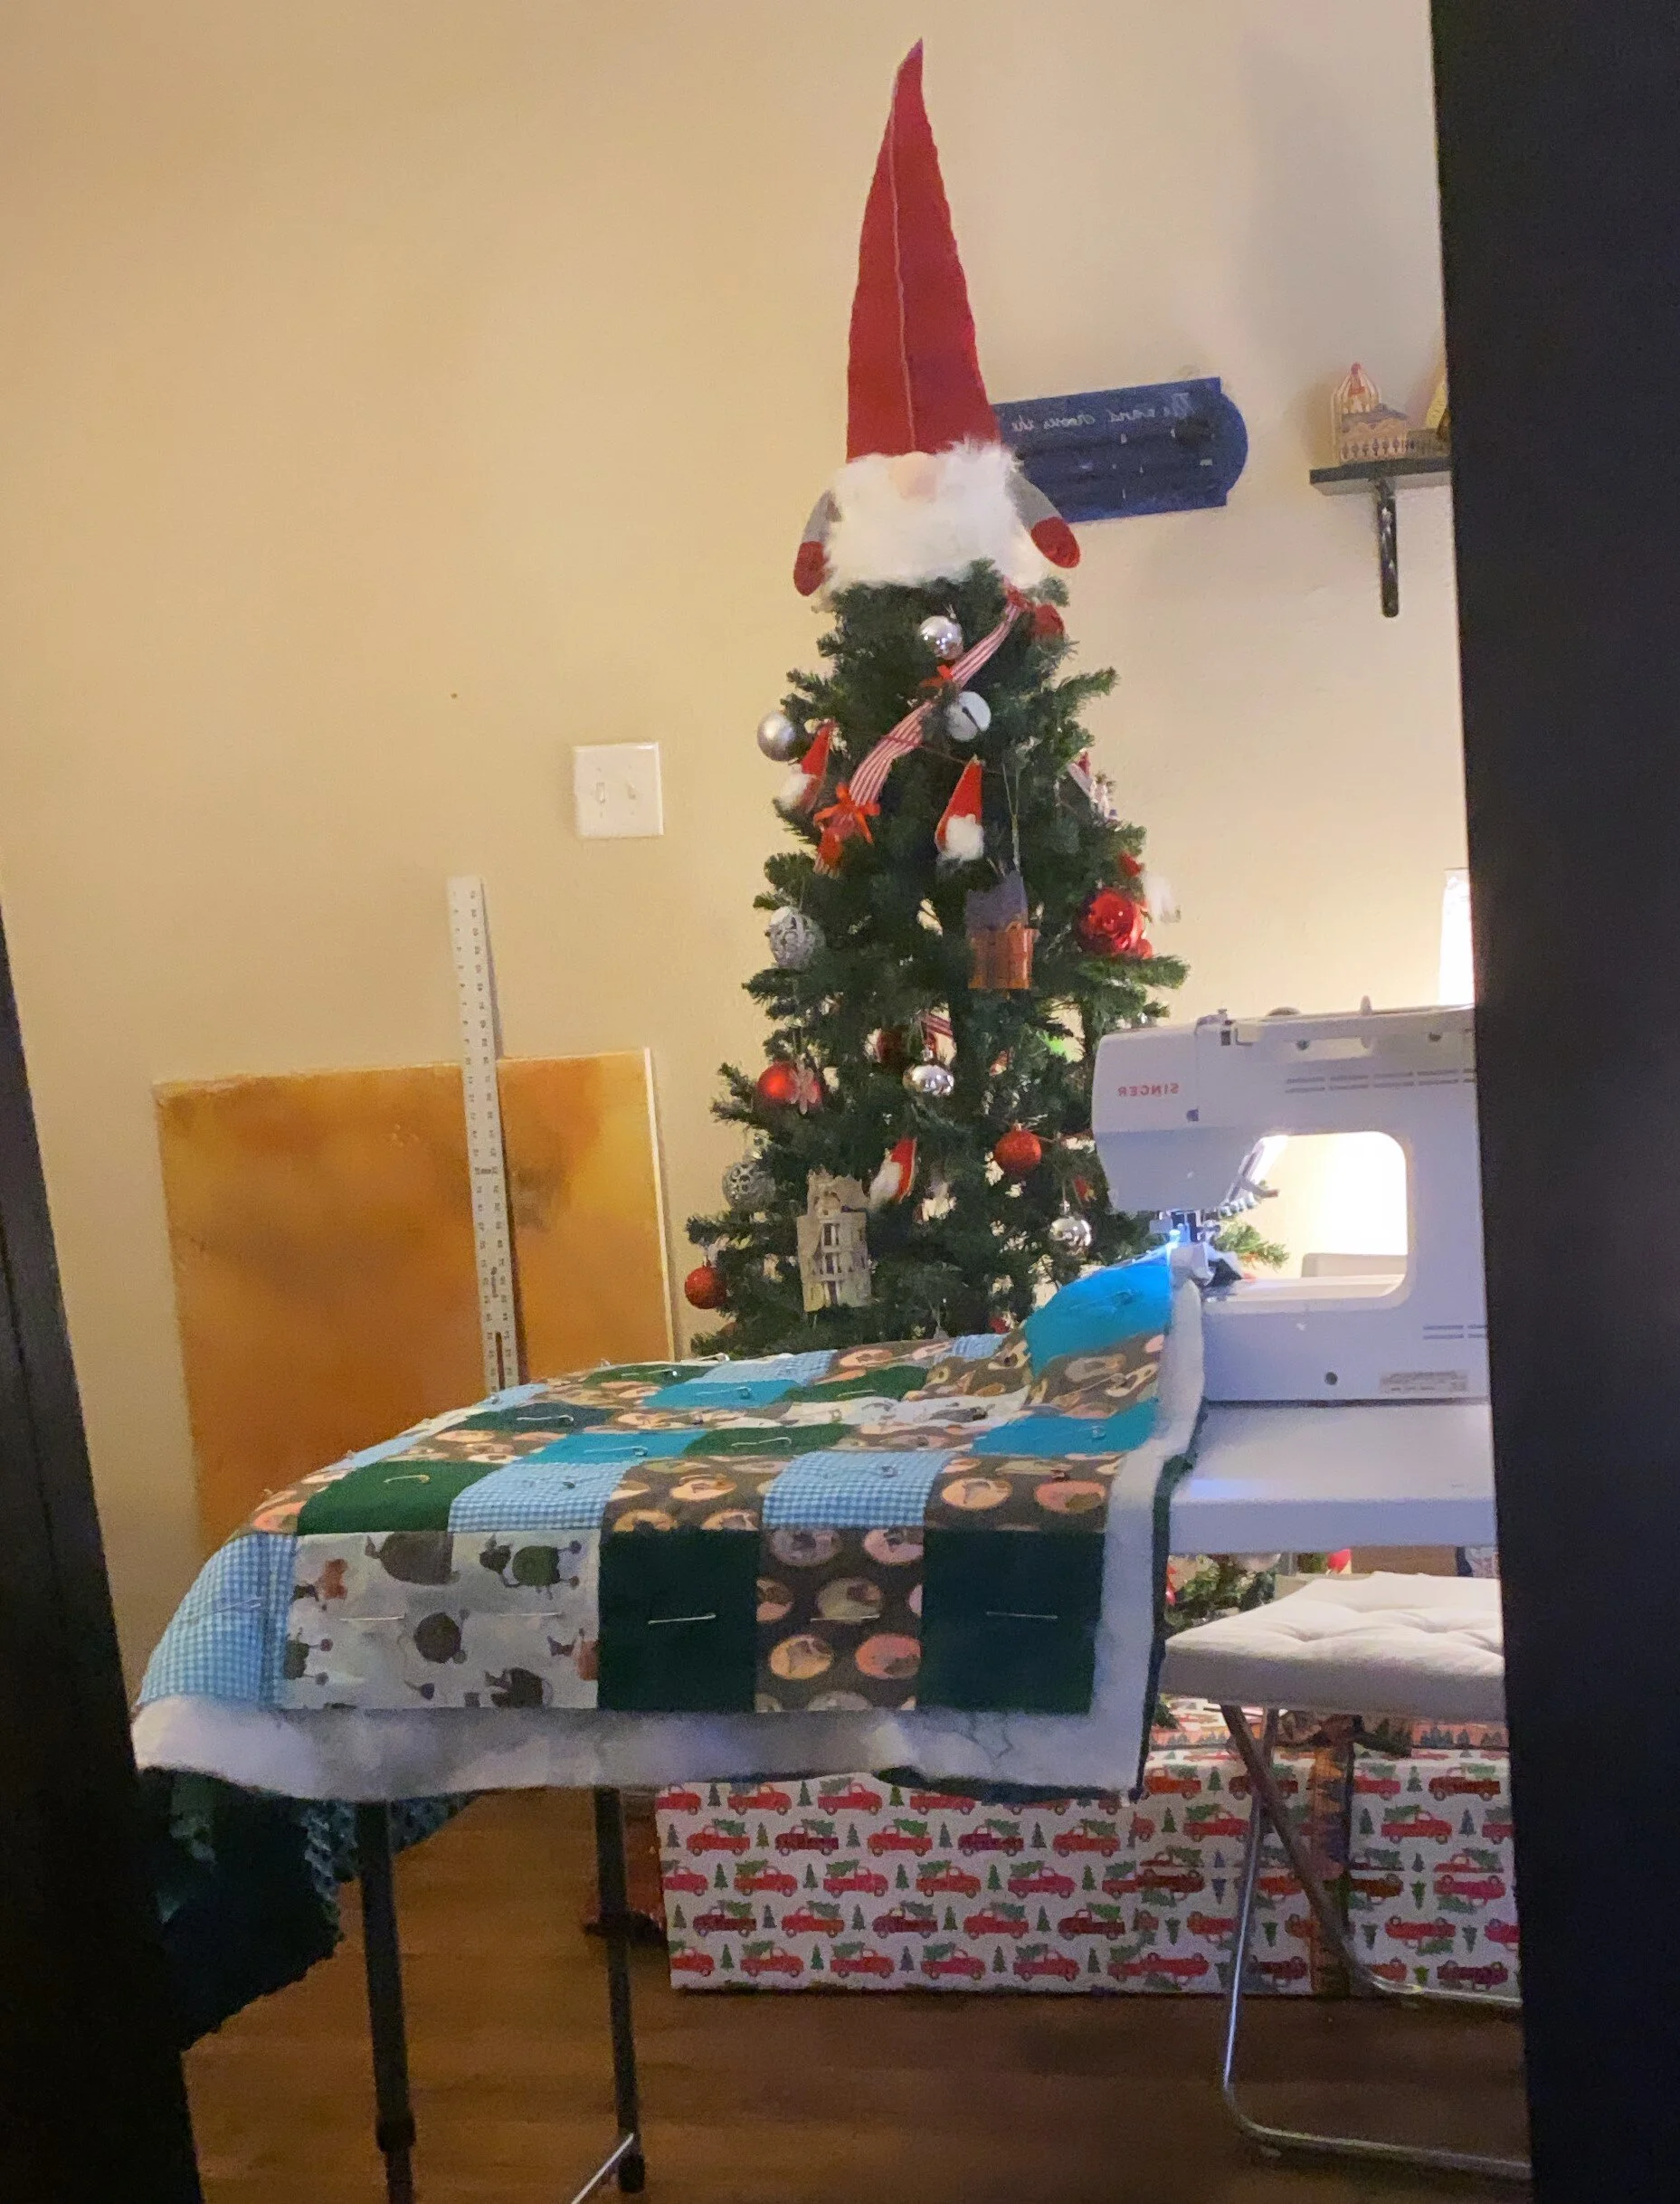
Thirteenth Step: Made sure to do all of these steps for both quilts aaannnd VOILA! THEY ARE COMPLETE!!


_____________________________________________________________________________________________
Links:
Spoonflower - Katherine Quinn Shop Page: https://www.spoonflower.com/profiles/katherine_quinn
Melanie Ham - Your First Quilt - Beginner Tutorial, Part 1 - https://www.youtube.com/watch?v=-TyihOEvJ8E
Missouri Star Quilt Company - How to bind with Cuddle Cloth or Minkee Fabric - https://www.youtube.com/watch?v=l-vuPBgoGt4