
Replacement Bridal Veil - Work In Progress
Replacement Bridal Veil for one of my Besties/Coauthor/Sister/Half of the Ninja Duo
Soooooooooooo I made a veil for my besties wedding two years ago, and it turned out beautifully. I hand stitched the lace and applied many Swarovski crystals on it and I used shimmer ivory tulle for the veil. The below picture is of the original veil. I was so proud of this veil. It was the first veil I ever made. Obviously my friend had a lot of faith in me and I still don’t know why she entrusted me with such an important part of her wedding ensemble, but I did my best. (I know..its on a lamp… but the lamp was almost the same height as the bride and it gave me a good perspective of how the veil was going to fall. Also, I did not have a mannequin so it was either the lamp, or my boyfriend holding up the veil whilst also trying to hide from the camera and that wasn’t going to work. Oh and the floors were completely cleaned and mopped prior to the process of making this veil and no one was allowed in that area until it was completed and boxed.)

Now, what had happened was…I’m actually not going to go into details of what happened to the original veil, it is just essentially lost and is no more in their possession sadly. My bestie asked if I would make a second veil to replace the one that was lost, and I of course said yes. So now I am embarking on the new journey of creating a second veil and I will be documenting my journey in this blog post.
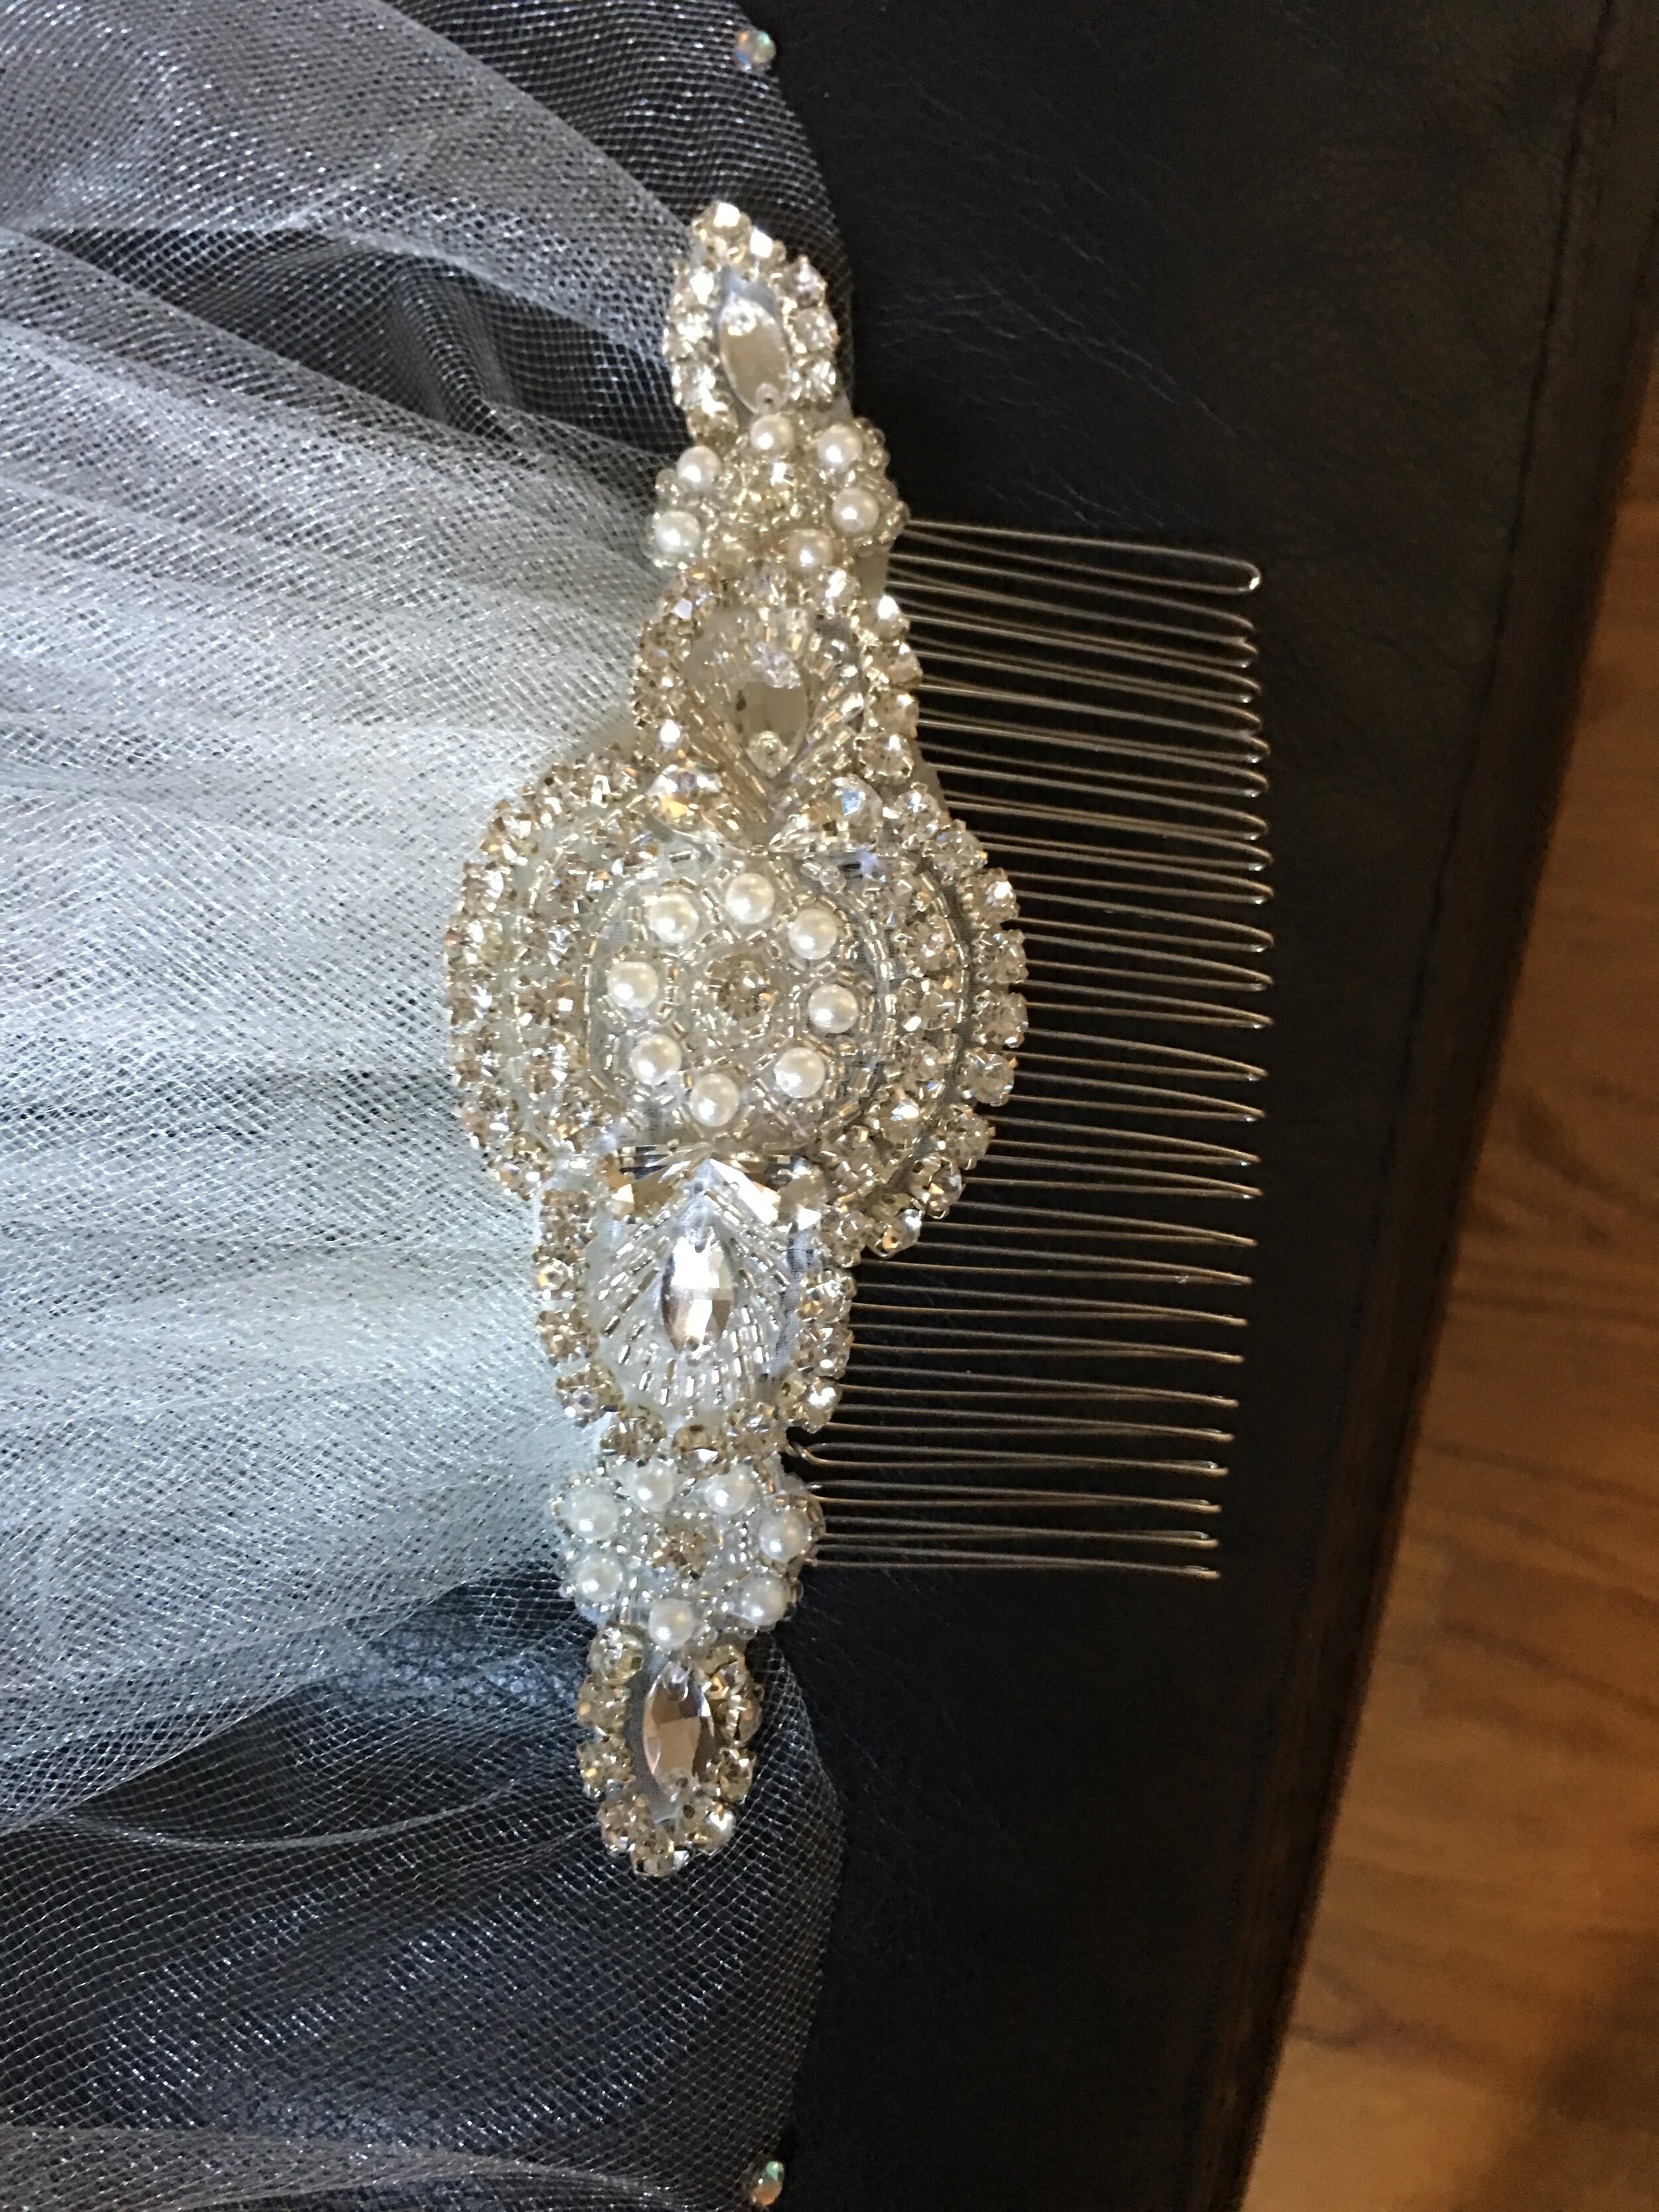
The first step has been accomplished. I have acquired the lace. Unfortunately lace, like all fashion, goes through its seasons and the lace that was originally used is no longer made, so I spoke with my friend and we settled on a different lace to be used in this veil. I had to specially order this lace and it took a WHOLE MONTH for this lace to come in, but it is so worth it because it is soooo beautiful. EEEK I AM SO EXCITED!!

This lace is white though and I needed to make it ivory to match the tulle so I will have to *shudder* dye the lace. I am so nervous about this because I have never dyed anything…ever. *Screams internally* I will be using the tea dyeing process and will definitely be using a swatch before dyeing all of the lace to 1) make sure it is possible to dye the fabric 2) not ruin expensive lace.
So after doing some research, and the help of my mom when she visited, we were able to try out the dyeing process on a few swatches of the lace to see how long the complete lace should be left for. Take a look at the process below:
After the tests, we determined that the lace only needed to be kept in the tea for 1 minute to match the tulle. All of the lace was dyed using the same process and then hung to dry. I made a makeshift clothes line in my bathroom.

Next the tulle was cut for veil. Take a look in the video below.
And now we are moving on to the next step of the process: cutting, trimming and pinning the lace. Take a look at the process below.
After this, the next step is actually sewing the lace on the the tulle. This requires using my old (enemy) friend, invisible thread. I really hate using this because well its… invisible, but we shall see how this goes… coming soon!